1) Contact support@mycomply.net or contact your myComply Customer Success Manager to help you add your Smart Bricks to your project. Our team will require the Smart Brick number that begins with LTE.
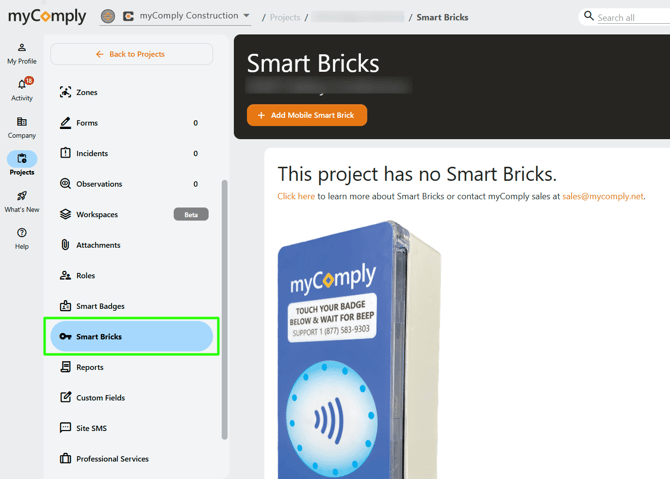
2) Once the Smart Bricks have been added to your project, they will appear under the Projects tab. Click on your project, then select "Smart Bricks" to see the list.
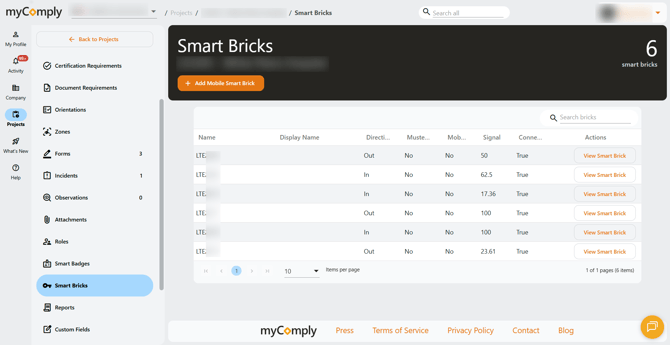
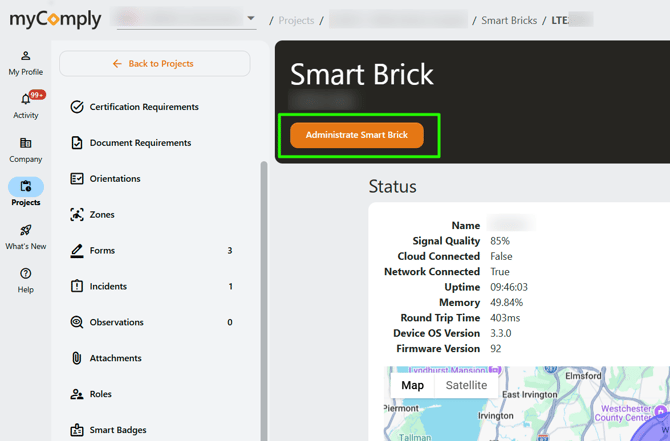
3) To configure your Smart Brick, click "View Smart Brick". Then, select "Administrate Smart Brick".
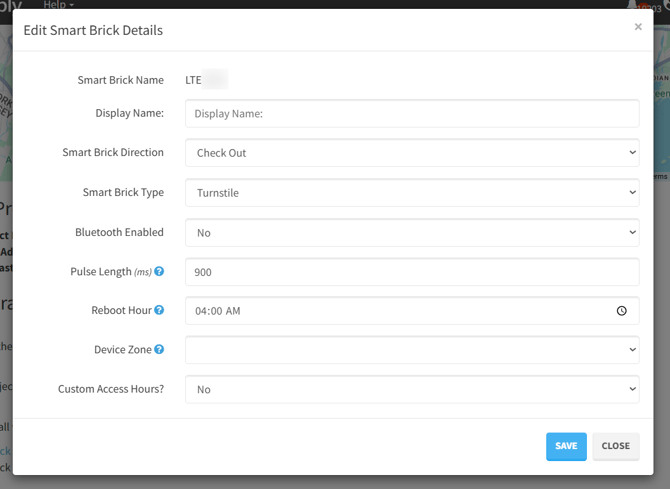
4) Scroll down until you see "Edit Smart Brick".
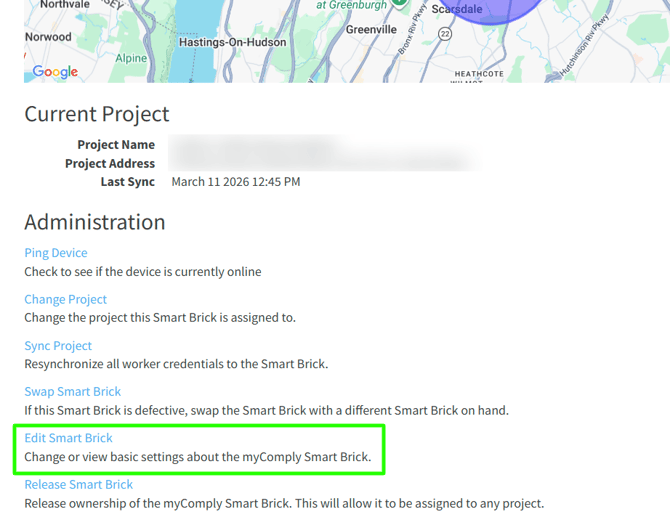
5) Here you can customize your Smart Brick's settings.
-
You can then name the Smart Brick (ex. "North Stairwell").
-
Select whether it is check in/out.
- Describe if the Smart Brick is on its own, part of a turnstile, or part of a turnstile with temperature sensors.
- If a project is using Bluetooth badges, set "Bluetooth Enabled" to "Yes".
- Pulse Length determines how long the turnstile waits between each worker. Shorter times can prevent bad actors from following a worker through the turnstile.
-
Set a reboot hour.
- If a project has multiple zones, you can specify which zone for more detailed time & attendance data.
- Custom Access Hours can be set to ensure workers are only on site at specific times.