![Logo.png]](https://knowledgebase.mycomply.net/hs-fs/hubfs/Logo.png?height=40&name=Logo.png)
To get started with Badge issuing first make make sure you have the necessary hardware & software at hand:
- Either the myComply desktop app (Download Here) or the myComply mobile app (for Android or for Apple)
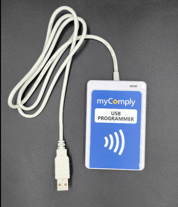
- A myComply USB programmer (not required if using a mobile device)
- Unassigned NFC badges, decals, or Bluetooth badges
Once you have everything ready, you will follow the steps below to begin issuing badges. Note: there are 2 types of badges/decals that can be issued, Company badges and Project badges, this article covers the Company workflow. (Learn more about company & project badges here).
Issue a Company Badge/Decal:
Note: When issuing a Bluetooth badge, ensure you turn it on before issuing (read Bluetooth Badge instructions here).
1) Navigate to Company > Smart Badges and click "Issue Badge":

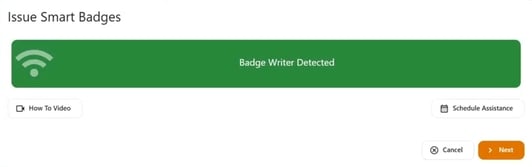
Note: if using the desktop app you should see this pop up, if not, ensure the USB programmer is correctly plugged in:
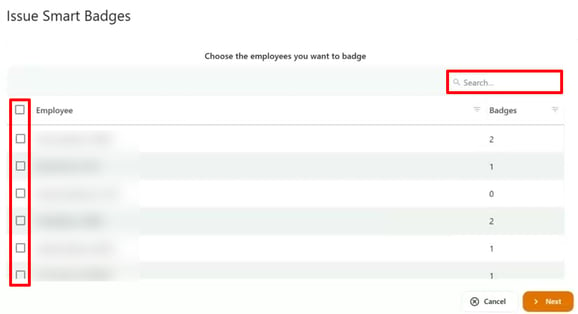
2) Search for & select the employee(s) you wish to issue badges for and click next:
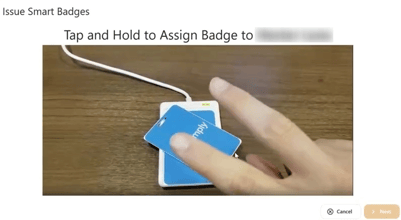
3.a) On desktop you will see the following video and instructions, the text will turn green and say "Badge successfully assigned to _____" when done:
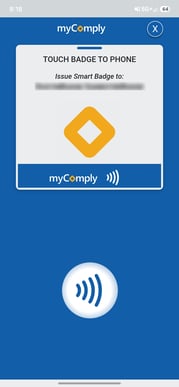
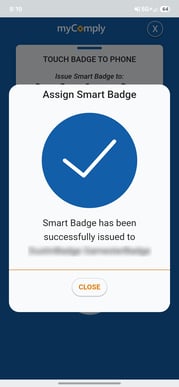
3.b) On mobile you will see the screens below prompting you to assign a badge and confirming success: